I, like most software developers, have a favorite web editor. Evoq also has a nice web editor, but, when I’m editing a visualizer or other code, I typically use my preferred editor then tweak the files locally. I do this especially when those files are made up of several of lines of code.
That got me thinking: "wouldn’t it be nice if I could modify those files locally and have them sync automatically to my site every time I save the changes? It turns out Liquid Content has an API to get and update those files very easily. I'm going to show you how to take advantage of it and create a "synchronizer" to download the files and keep them updated in your site.
And to make this more fun, we're going to use .NET Core, which allows you to run the app, not only on Windows, but also on Mac OS and Linux. All made possible using Evoq's rich set of APIs to integrate applications with your site’s content.
In this tutorial, we’re going to develop a simple console application to manage the visualizers provided in Liquid Content. The app will let you get the files used by the visualizers, to modify them in your desktop and re-upload them automatically to your site once you finish your changes.
How to use it
This is a very simple console application, which allows you to download the files related to a specific visualizer and also lets you upload those files back to your site in both ways, on demand, and automatically.
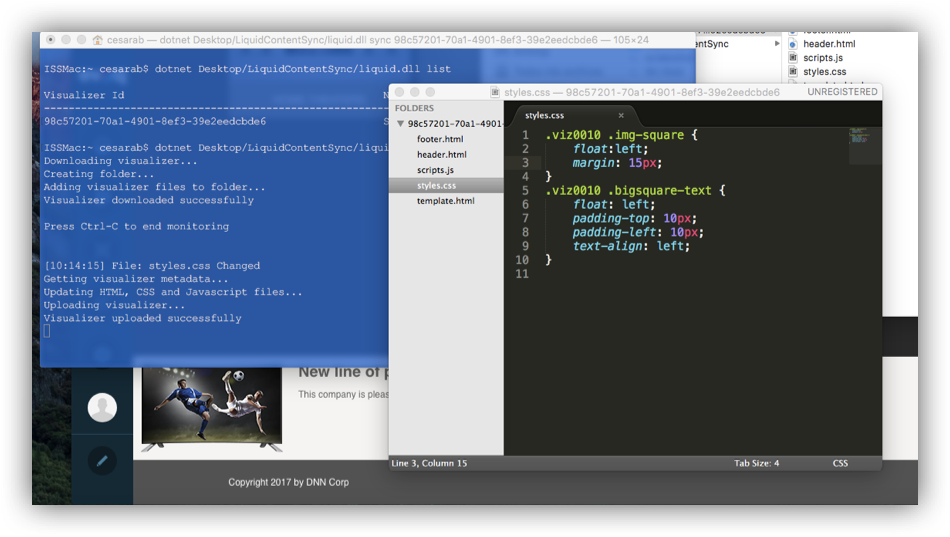
To see the list of visualizers that are in your site, just type: dotnet liquid.dll list to show the names and Ids of each visualizer.

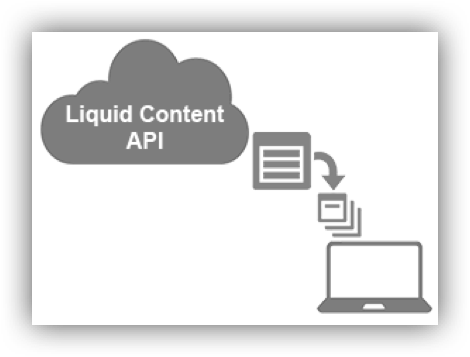
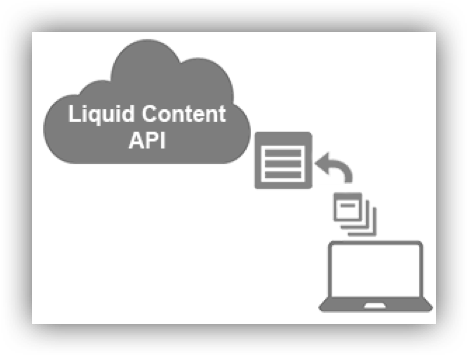
To edit a visualizers’ files (CSS, HTML, JavaScript), just execute the app with the visualizer’s id: dotnet liquid.dll sync to download the files of that particular visualizer, put them in a folder andstart monitoring that folder, so that it will re-upload those files back toLiquid Content, once it detects file changes.

How to build it
If you want to see how to build an application like this, follow the steps on the GitHub repository, or take a look at the source code on that same location.